
02-ESP8266-MQTT Communication
Workflow
First understand the principle, then test further with MQTTx, and finally implement it on the ESP8266. Following this order means that if you hit a problem, you can track it down right away.
Check Whether the Firmware Works
AT+MQTTUSERCFG=0,1,"ESP8266Client","myname","password",0,0,""
If it doesn't throw an error, it works.
If it errors out, that means the firmware doesn't support MQTT — please flash the following firmware:
All the rest of this series is explained based on that firmware. If you really don't want to use the firmware below, please don't watch this video.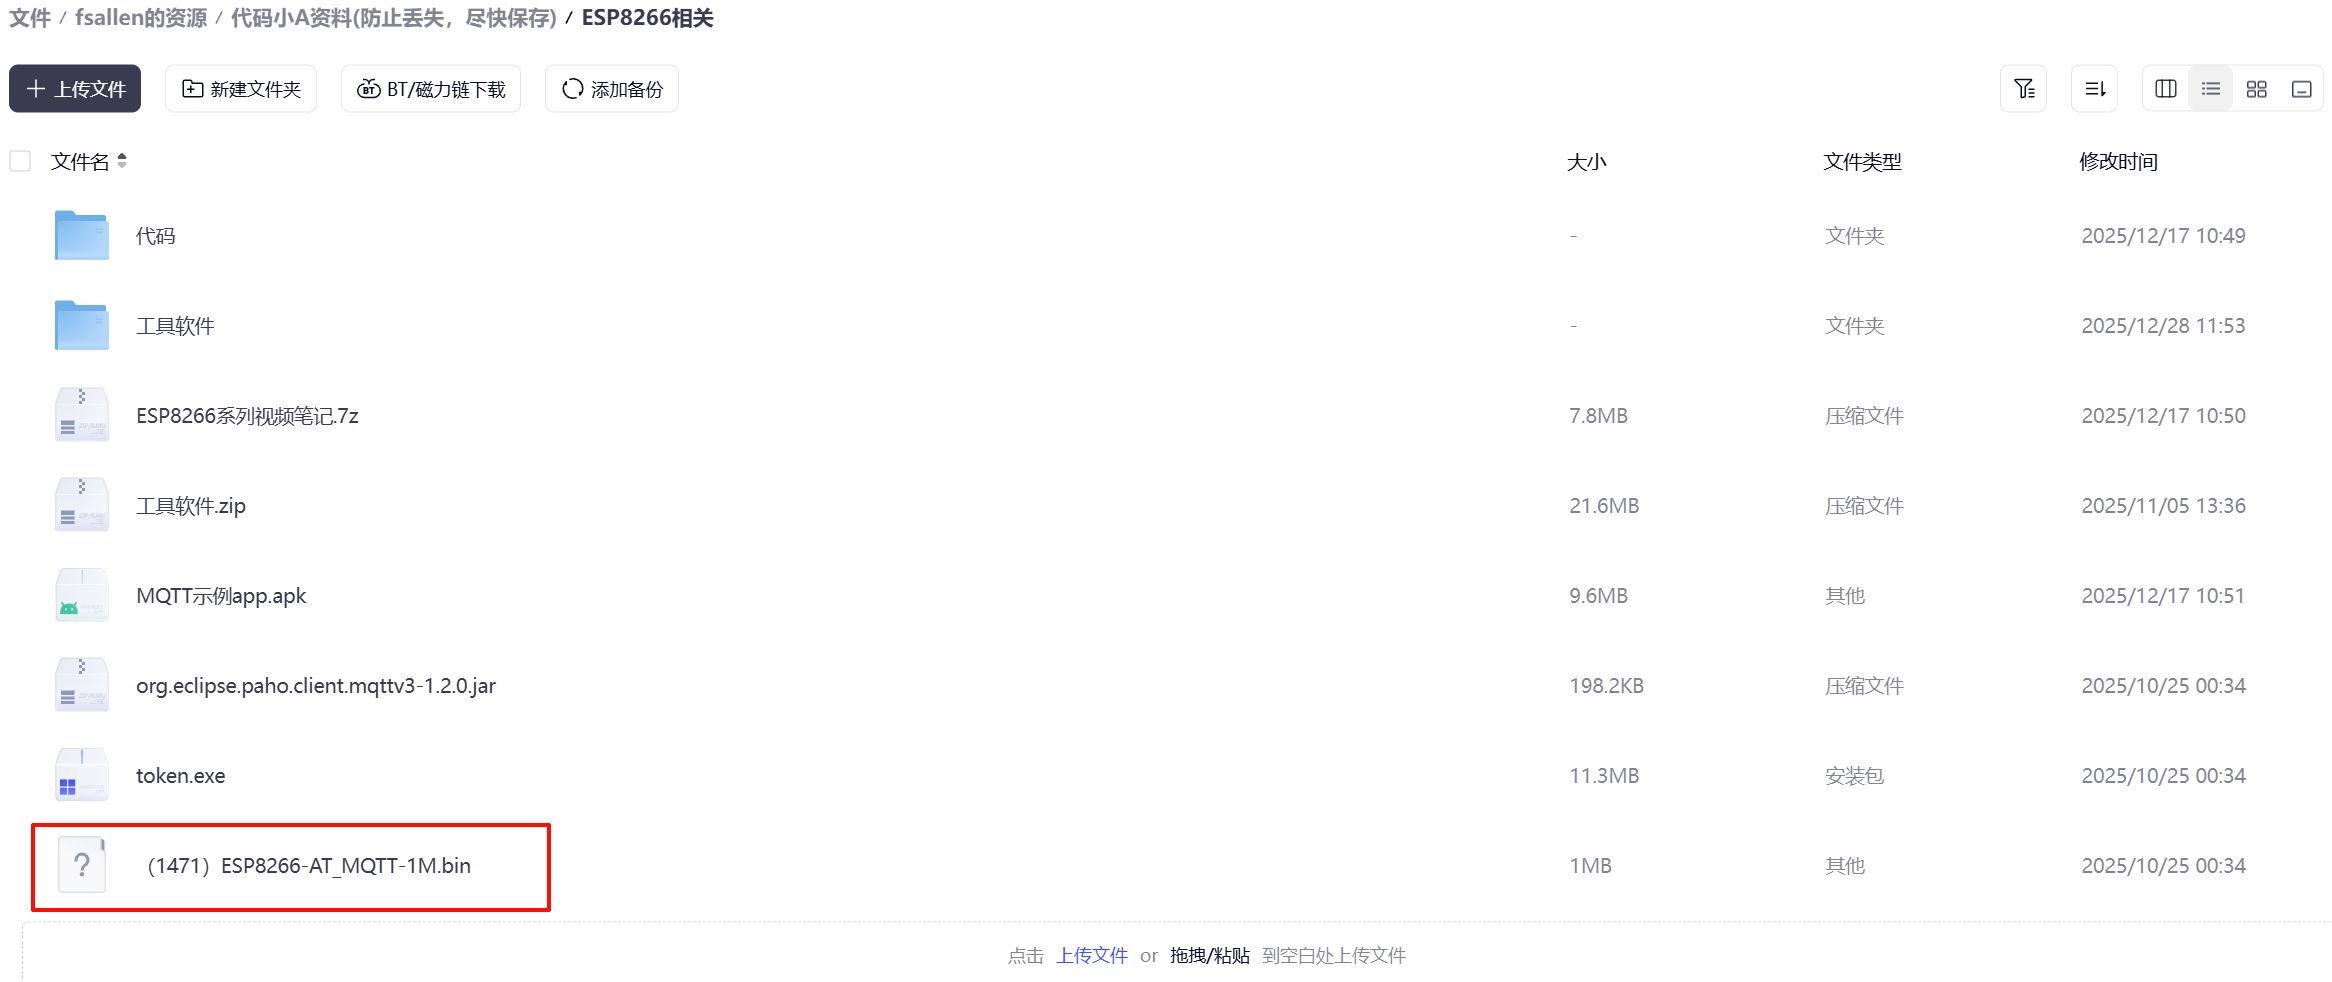
Flashing the Firmware
Use the firmware named 1471_esp8266-at_mqtt-1m
Hold the IO_O pin to ground and then power up to enter flashing mode, then flash the firmware as follows: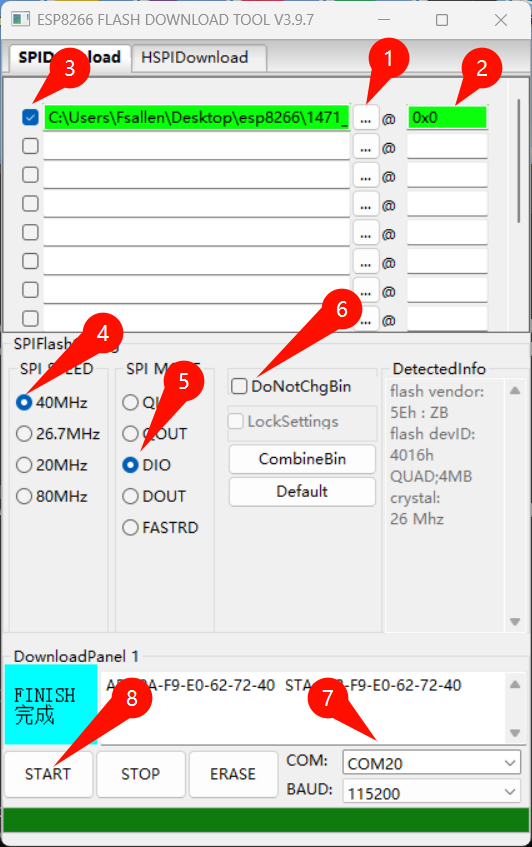
Communication Model
It uses the publish-subscribe model. In one sentence: as long as you subscribe to topic M, you'll receive whatever anyone else publishes to topic M.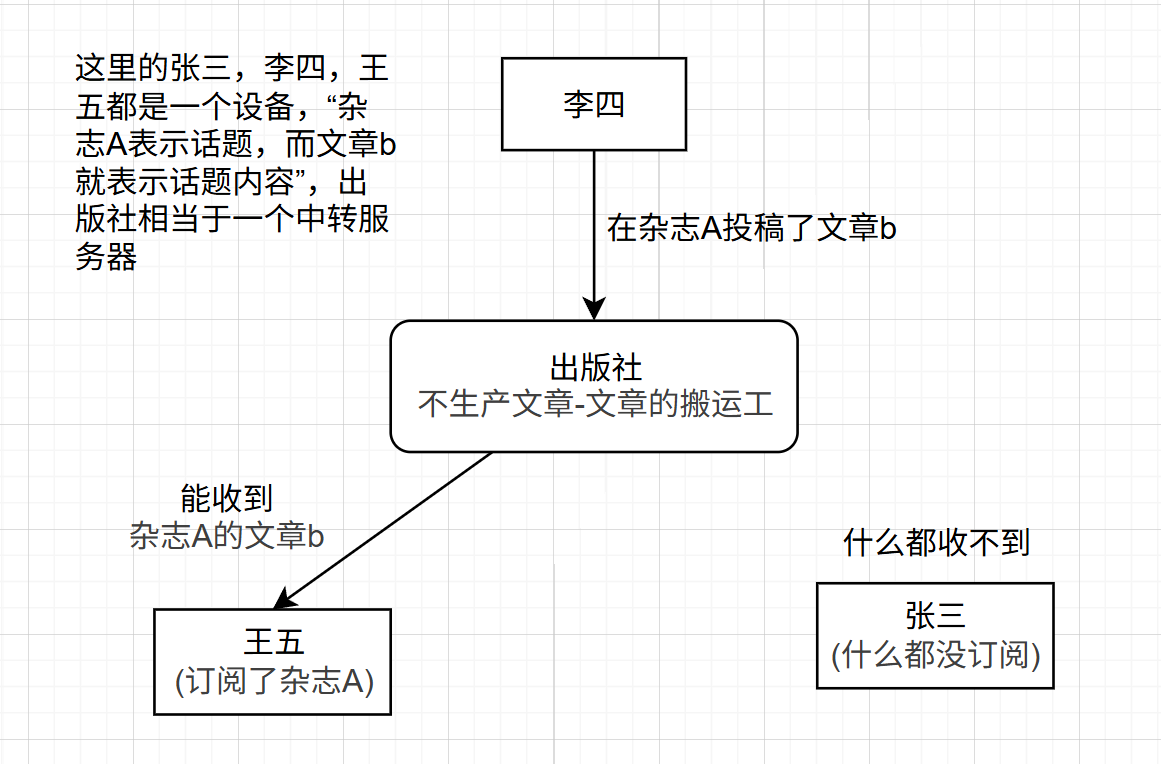
Debugging Software MQTTX
The MQTT server has been switched — the new server's
IP is: 45.192.110.61
Server dashboard: http://45.192.110.61:18083
Username: test password: abc123456789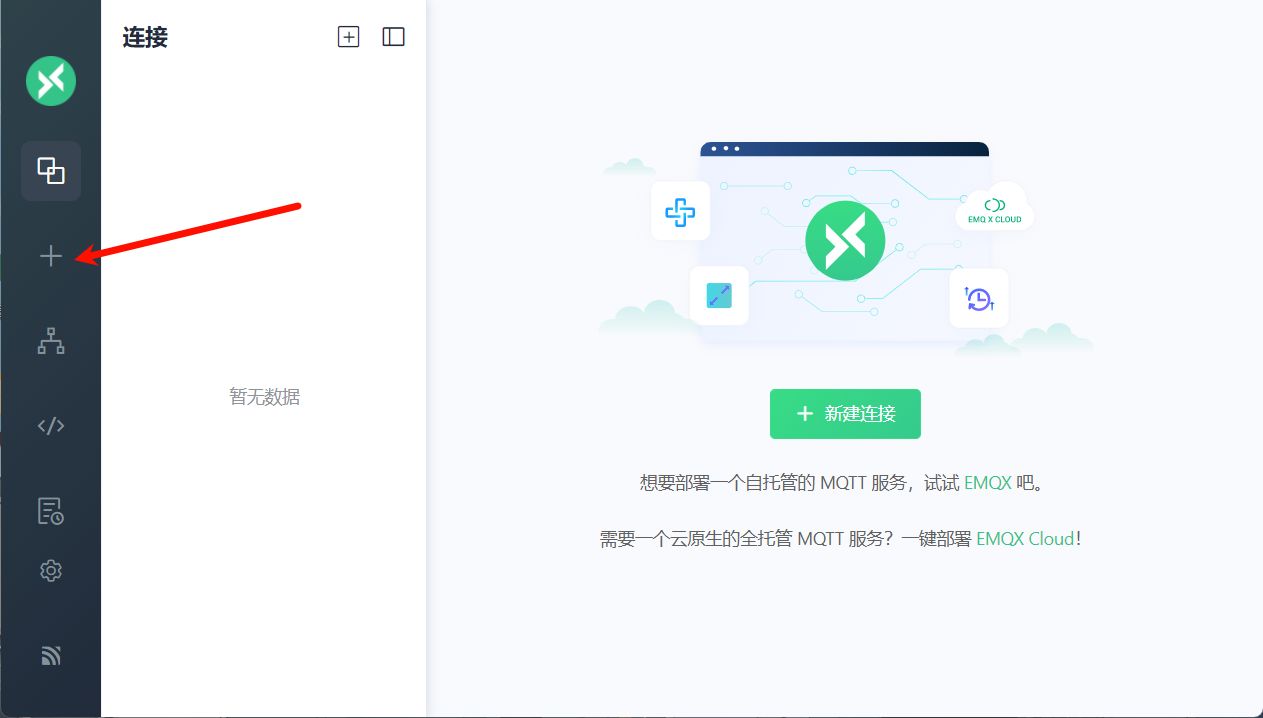
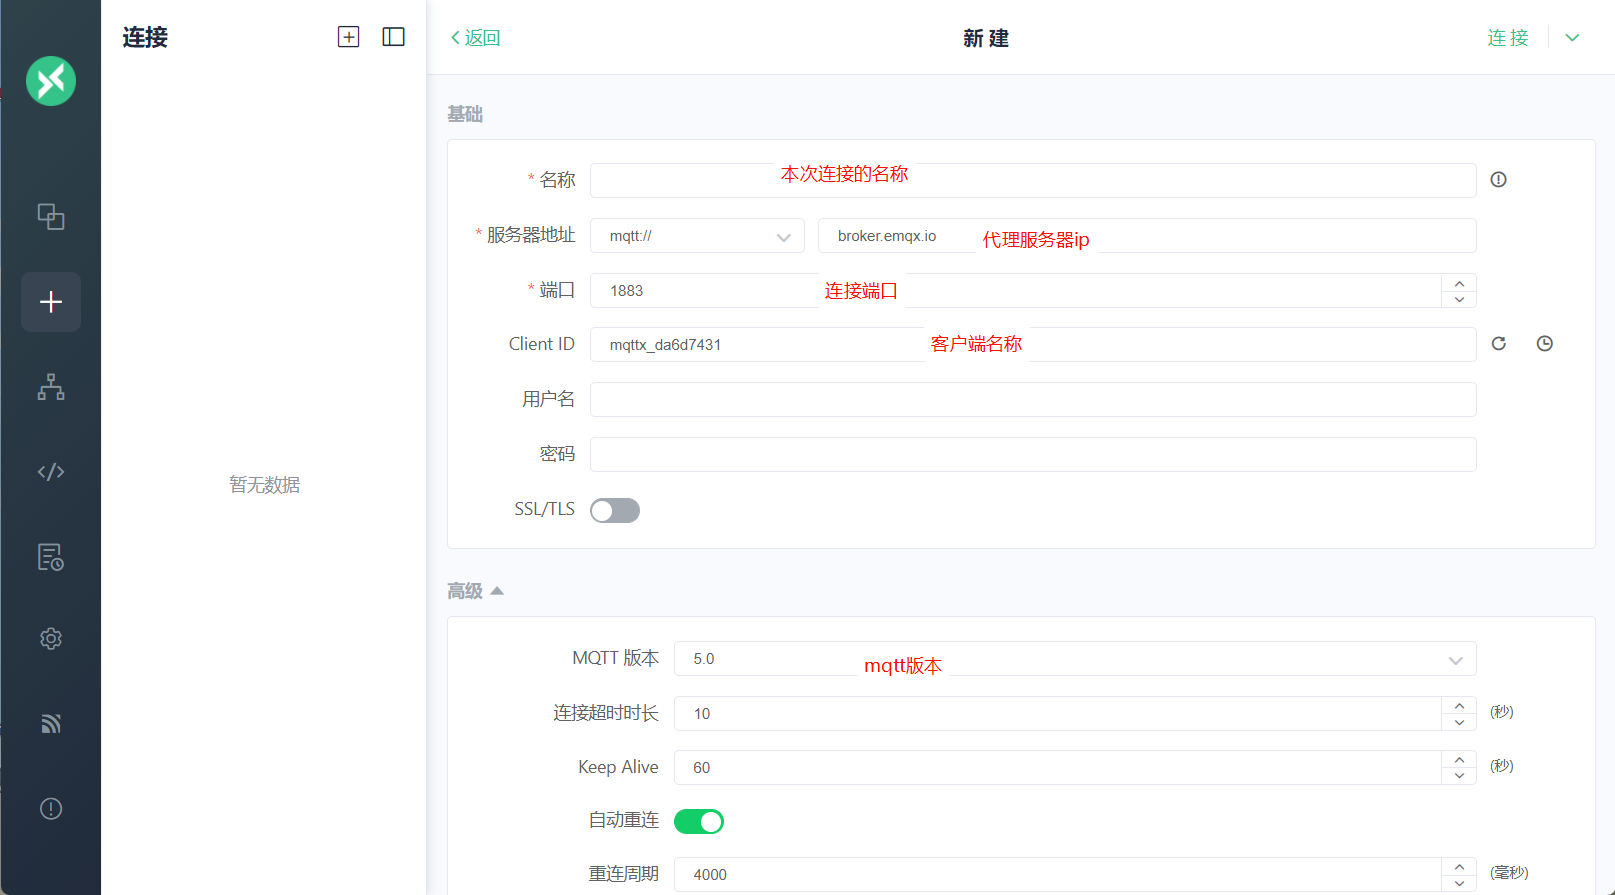
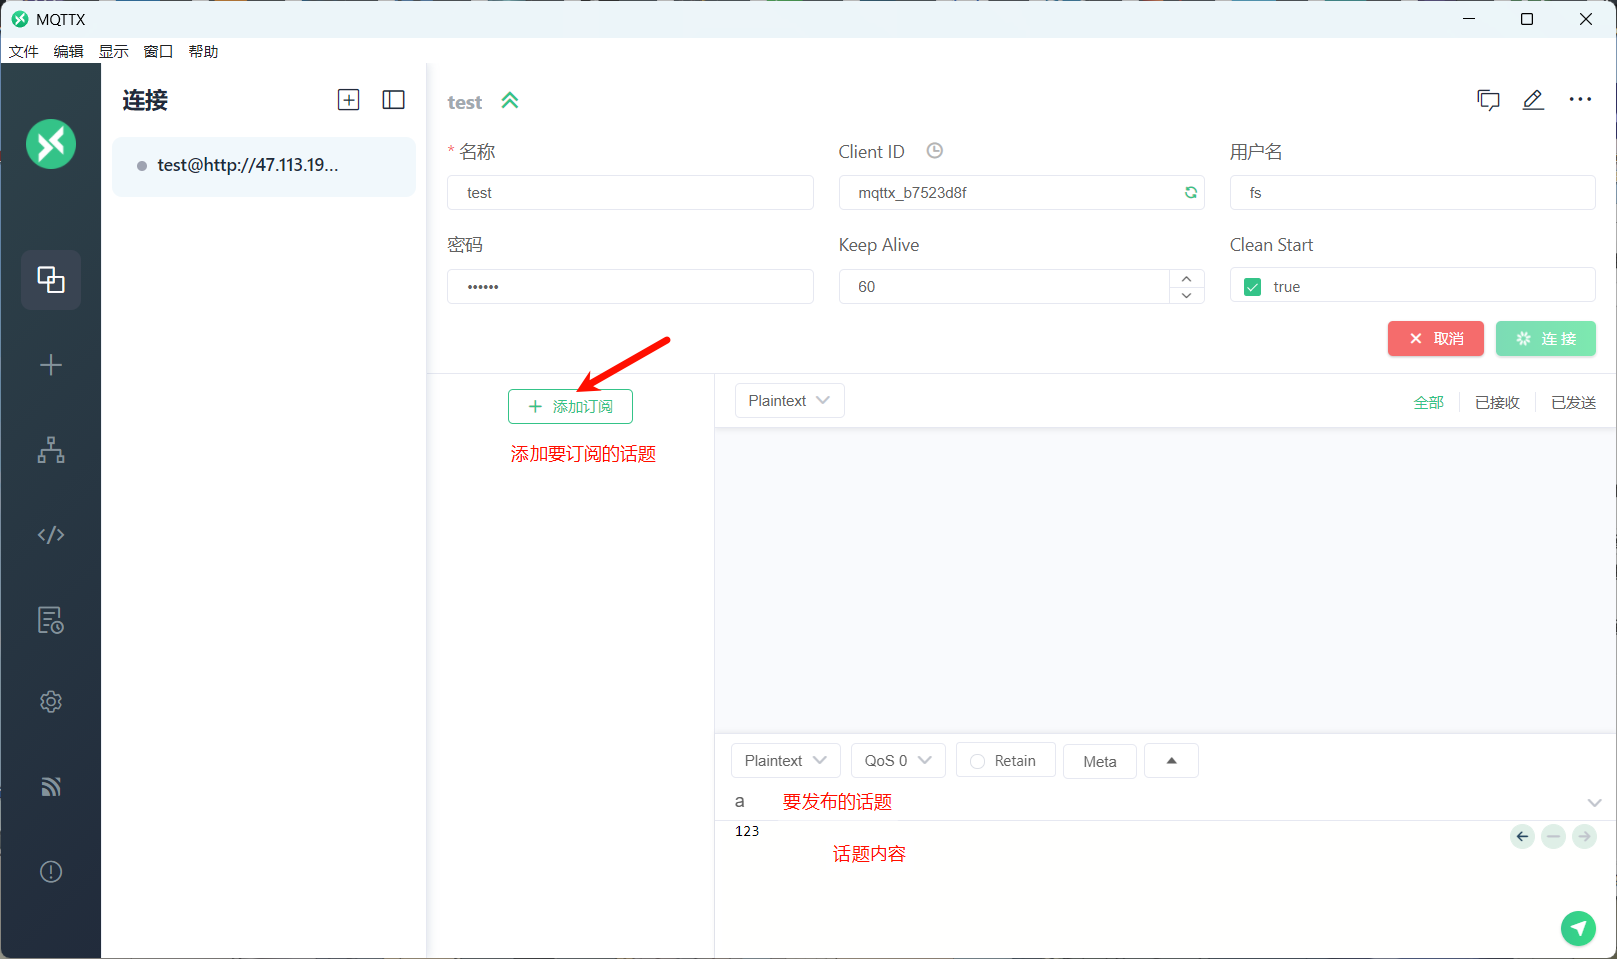
Using the AT Commands
Web Serial Debug Assistant Pro & Data Visualization
Pair it with the JSON file below for quick import: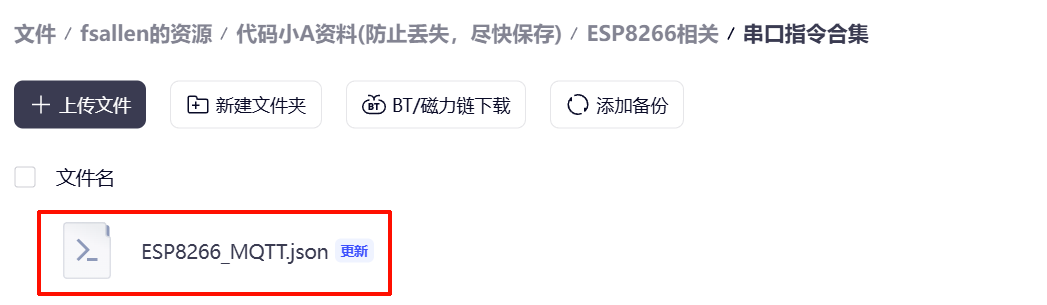
| Command | Purpose |
|---|---|
AT+CWMODE=1 | WiFi client mode |
AT+CWJAP="aaa","aaaaaaaa" | Connect to WiFi |
AT+MQTTUSERCFG=0,1,"ESP8266Client","myname","password",0,0,"" | Set the MQTT parameters |
AT+MQTTCONN=0,"45.192.110.61",1883,1 | Connect to the MQTT server |
AT+MQTTSUB=0,"test/topic",0 | Subscribe to a topic |
AT+MQTTPUB=0,"test/topic","Hello from ESP8266",0,0 | Publish a message |
AT+MQTTSUB? | View subscribed topics |
AT+MQTTCLEAN=0 | Close the server connection |
Overall Workflow
- Connect to WiFi
- Set the client parameter info
- Connect to the MQTT server
- Subscribe to a topic, publish a message
Changelog
0ca31-on